Vendor Management
Items > Vendor Management
-
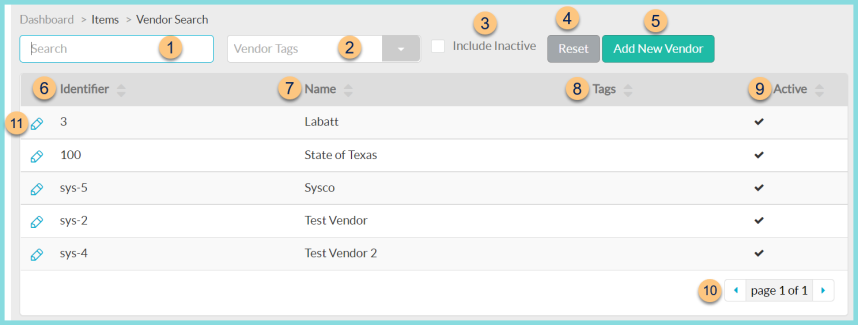
Search- search by name or identifier
-
Vendor Tags - filter by Vendor Tag
-
Include Inactive - check to include inactivated vendors
-
Reset - click to reset search parameters
-
Add New Vendor - click to add a new vendor (details below)
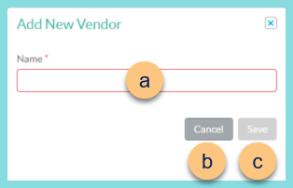
Identifier - enter an identifier if Auto Assign Vendor Number is not enabled in District Management.
Otherwise, the identifier field will not appear, but can be edited on the General tab of the vendor. -
Name - enter the vendor name
-
Cancel - click to return to the Vendor Management screen without saving changes
-
Save - click to create the vendor and move to the General tab
-
Identifier - click to sort by Vendor Identifier
-
Name - click to sort by Vendor Name
-
Tags - click to sort by Vendor Tags
-
Active - click to sort by Active status
-
< > - click to scroll between pages
-
Pencil - click to open a vendor to the General tab